Finally a clean, beautiful floor
We have been living with the raw slab on the bathroom for a long time. It was ugly, construction-dirty and always losing some dust. But the worst of it was that we didn’t have a shower, or a bath, and winter was coming… From one side, the tile delivery was delayed by the shop; from the other, we were busy with lots of other stuff in the house that also needed finishing.
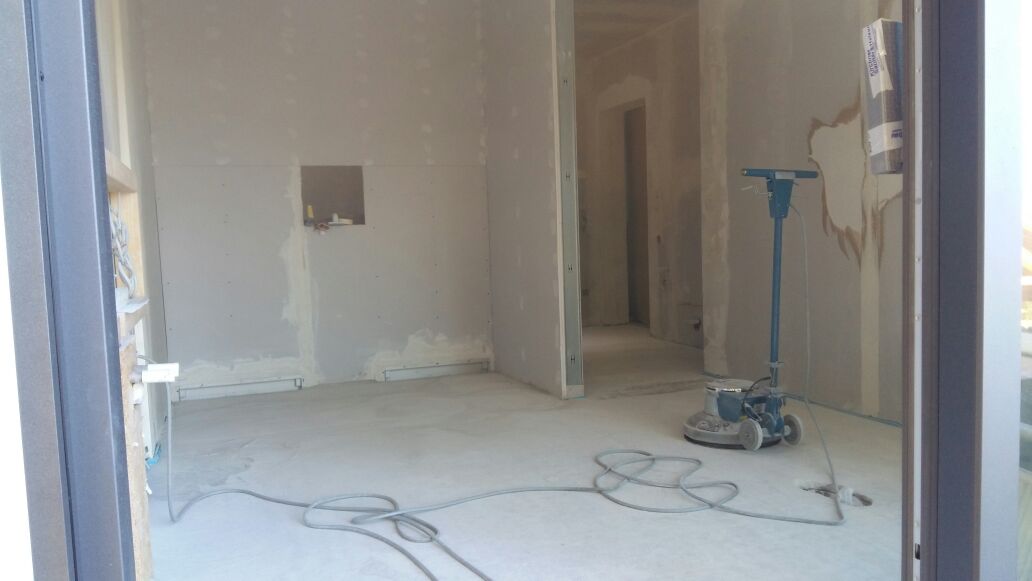
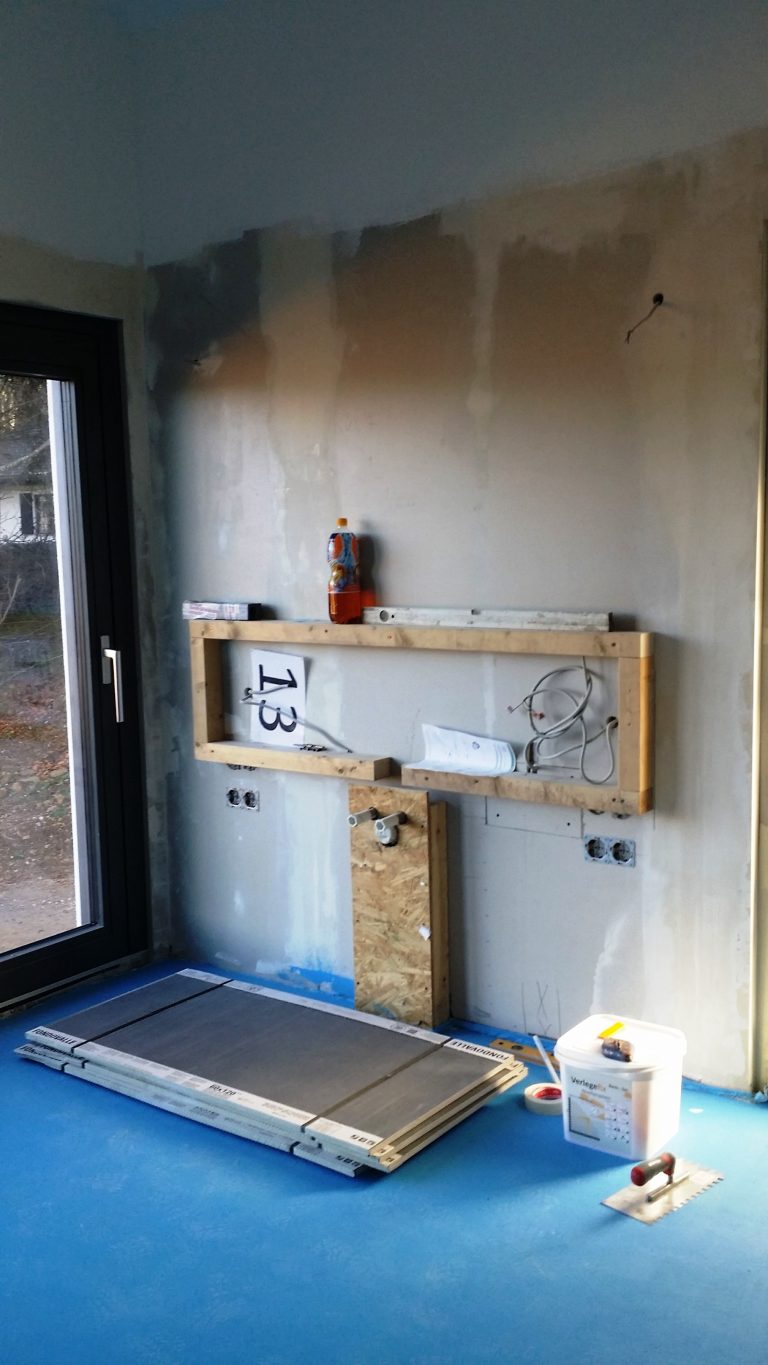
But it was about time we got the bathroom done! I knew it would be a gigantic effort, as the room is not small and I wanted to tile the walls too. We just got all dry walls filled and spray-painted above the wall tile level. Mathias also sanded the floor as prep for the tiles, so they could sit smoothly and even.
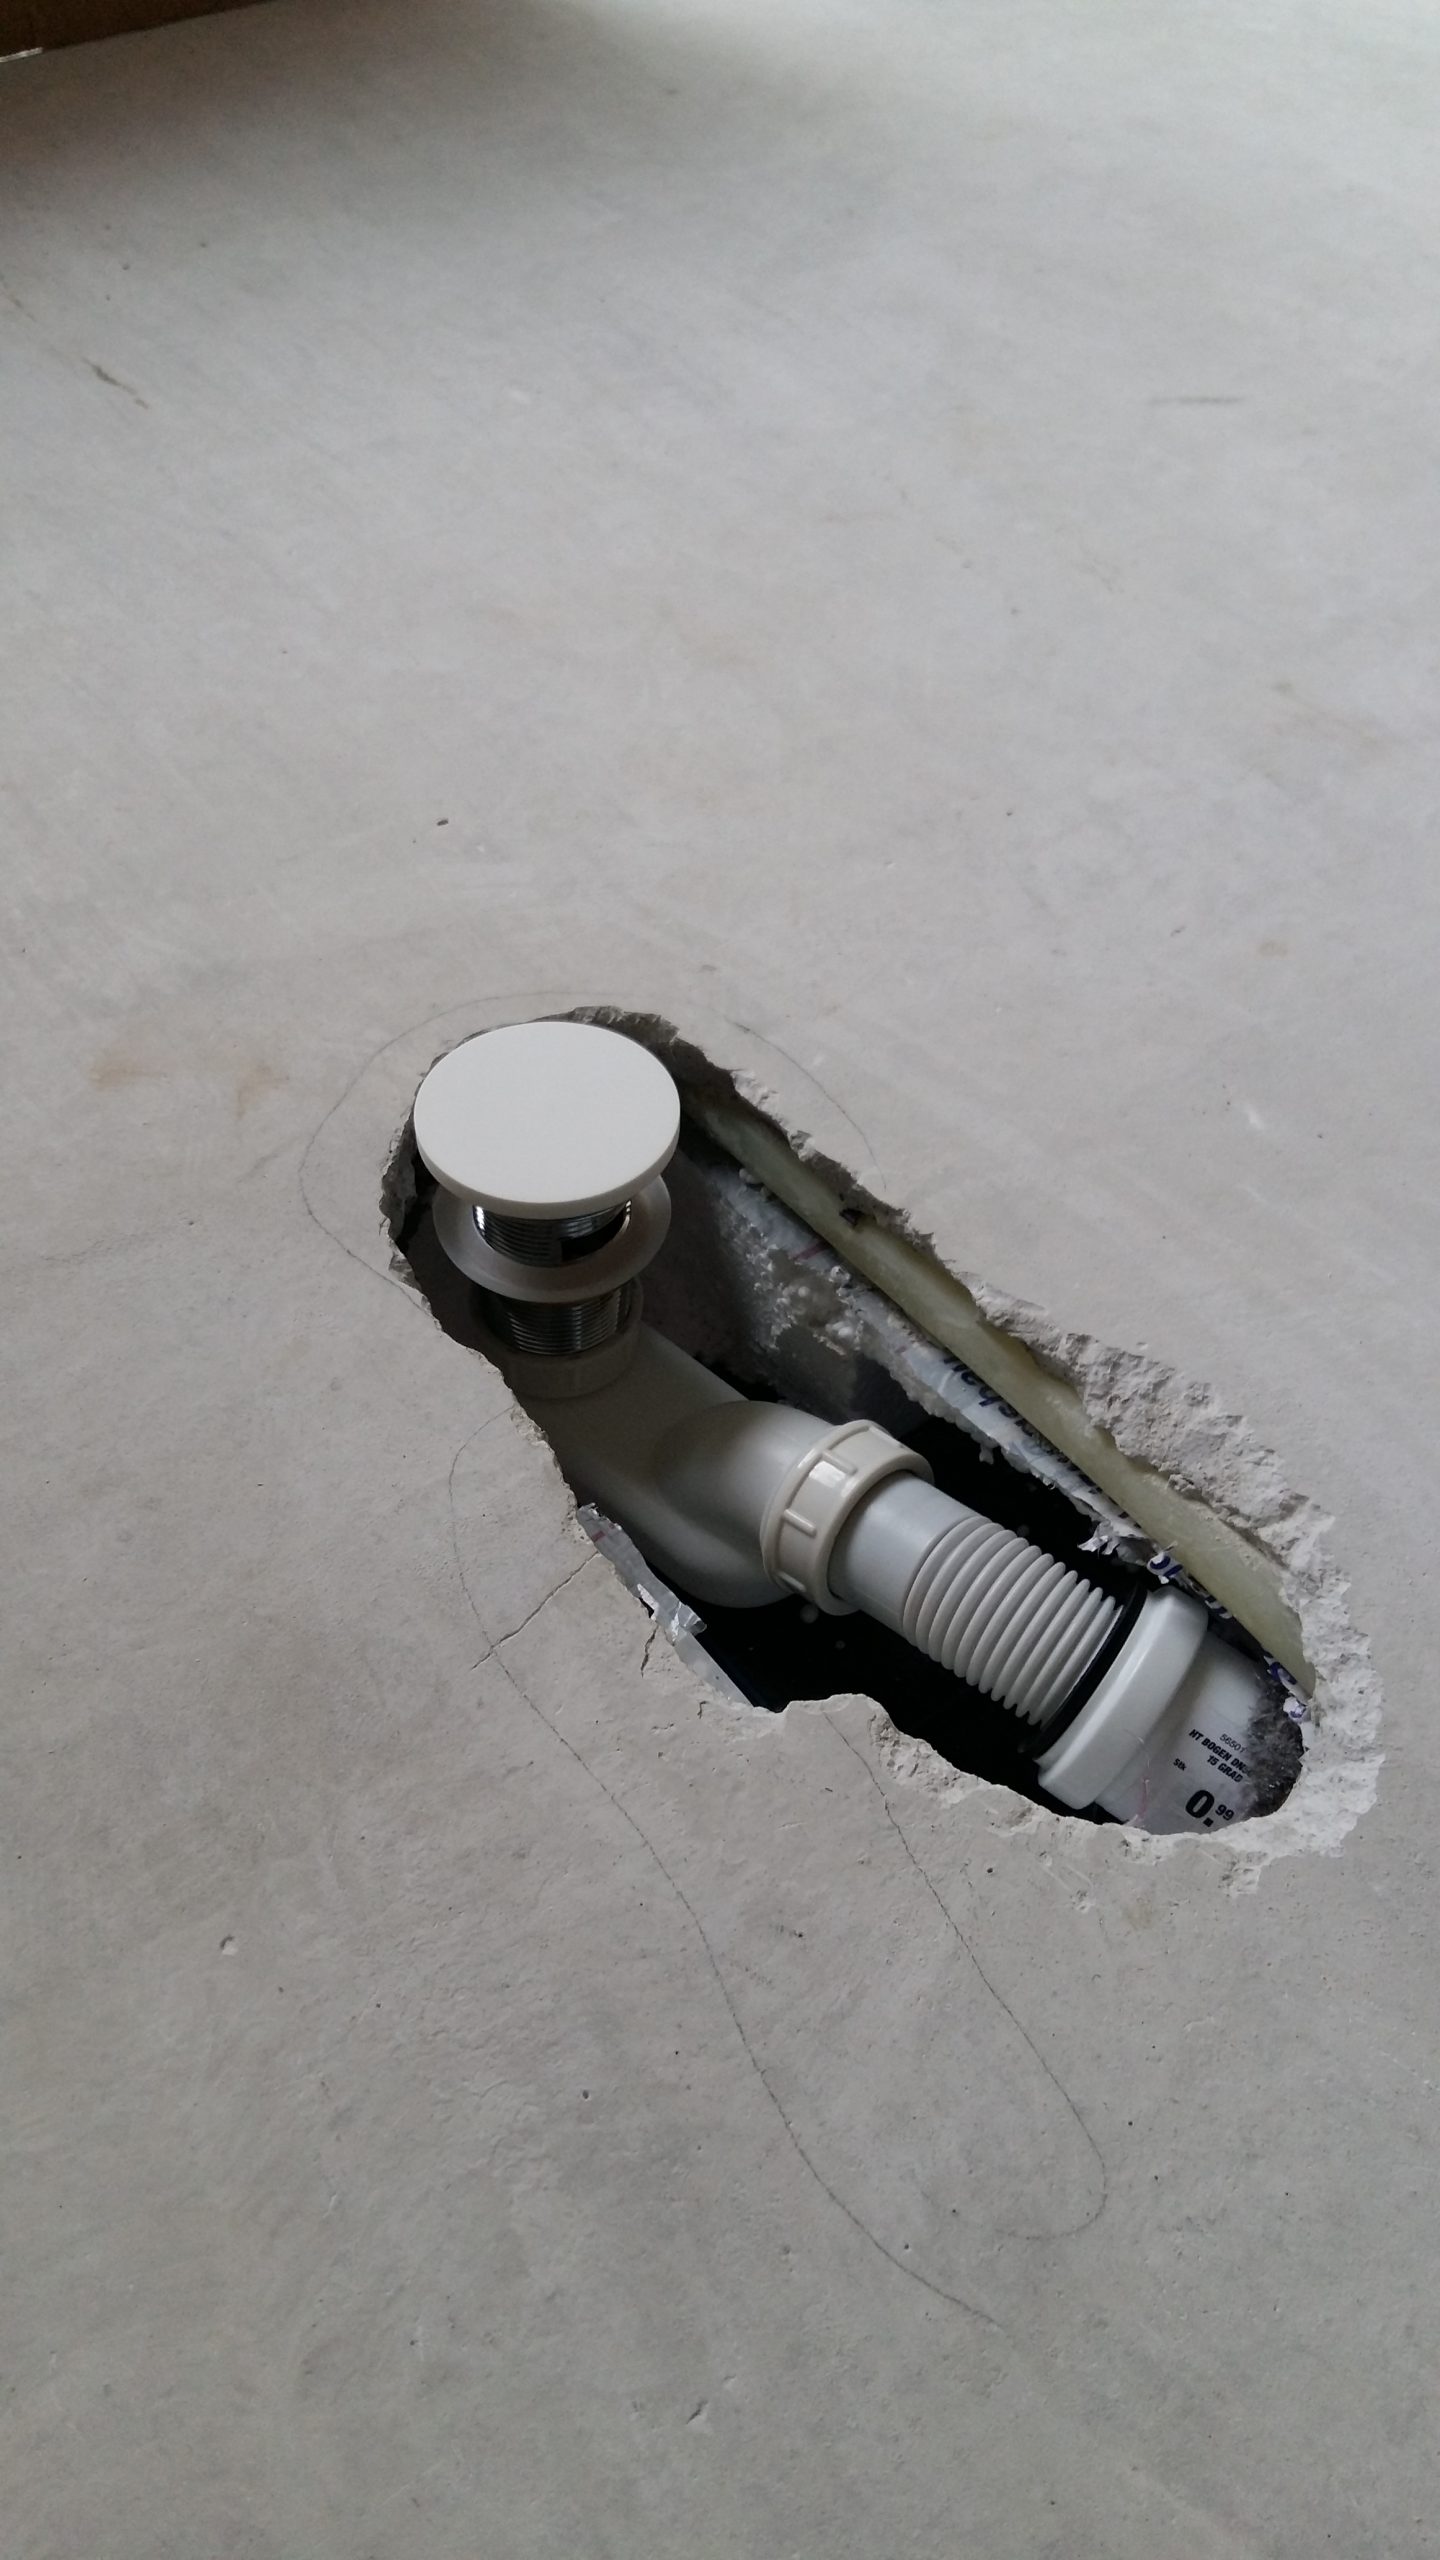
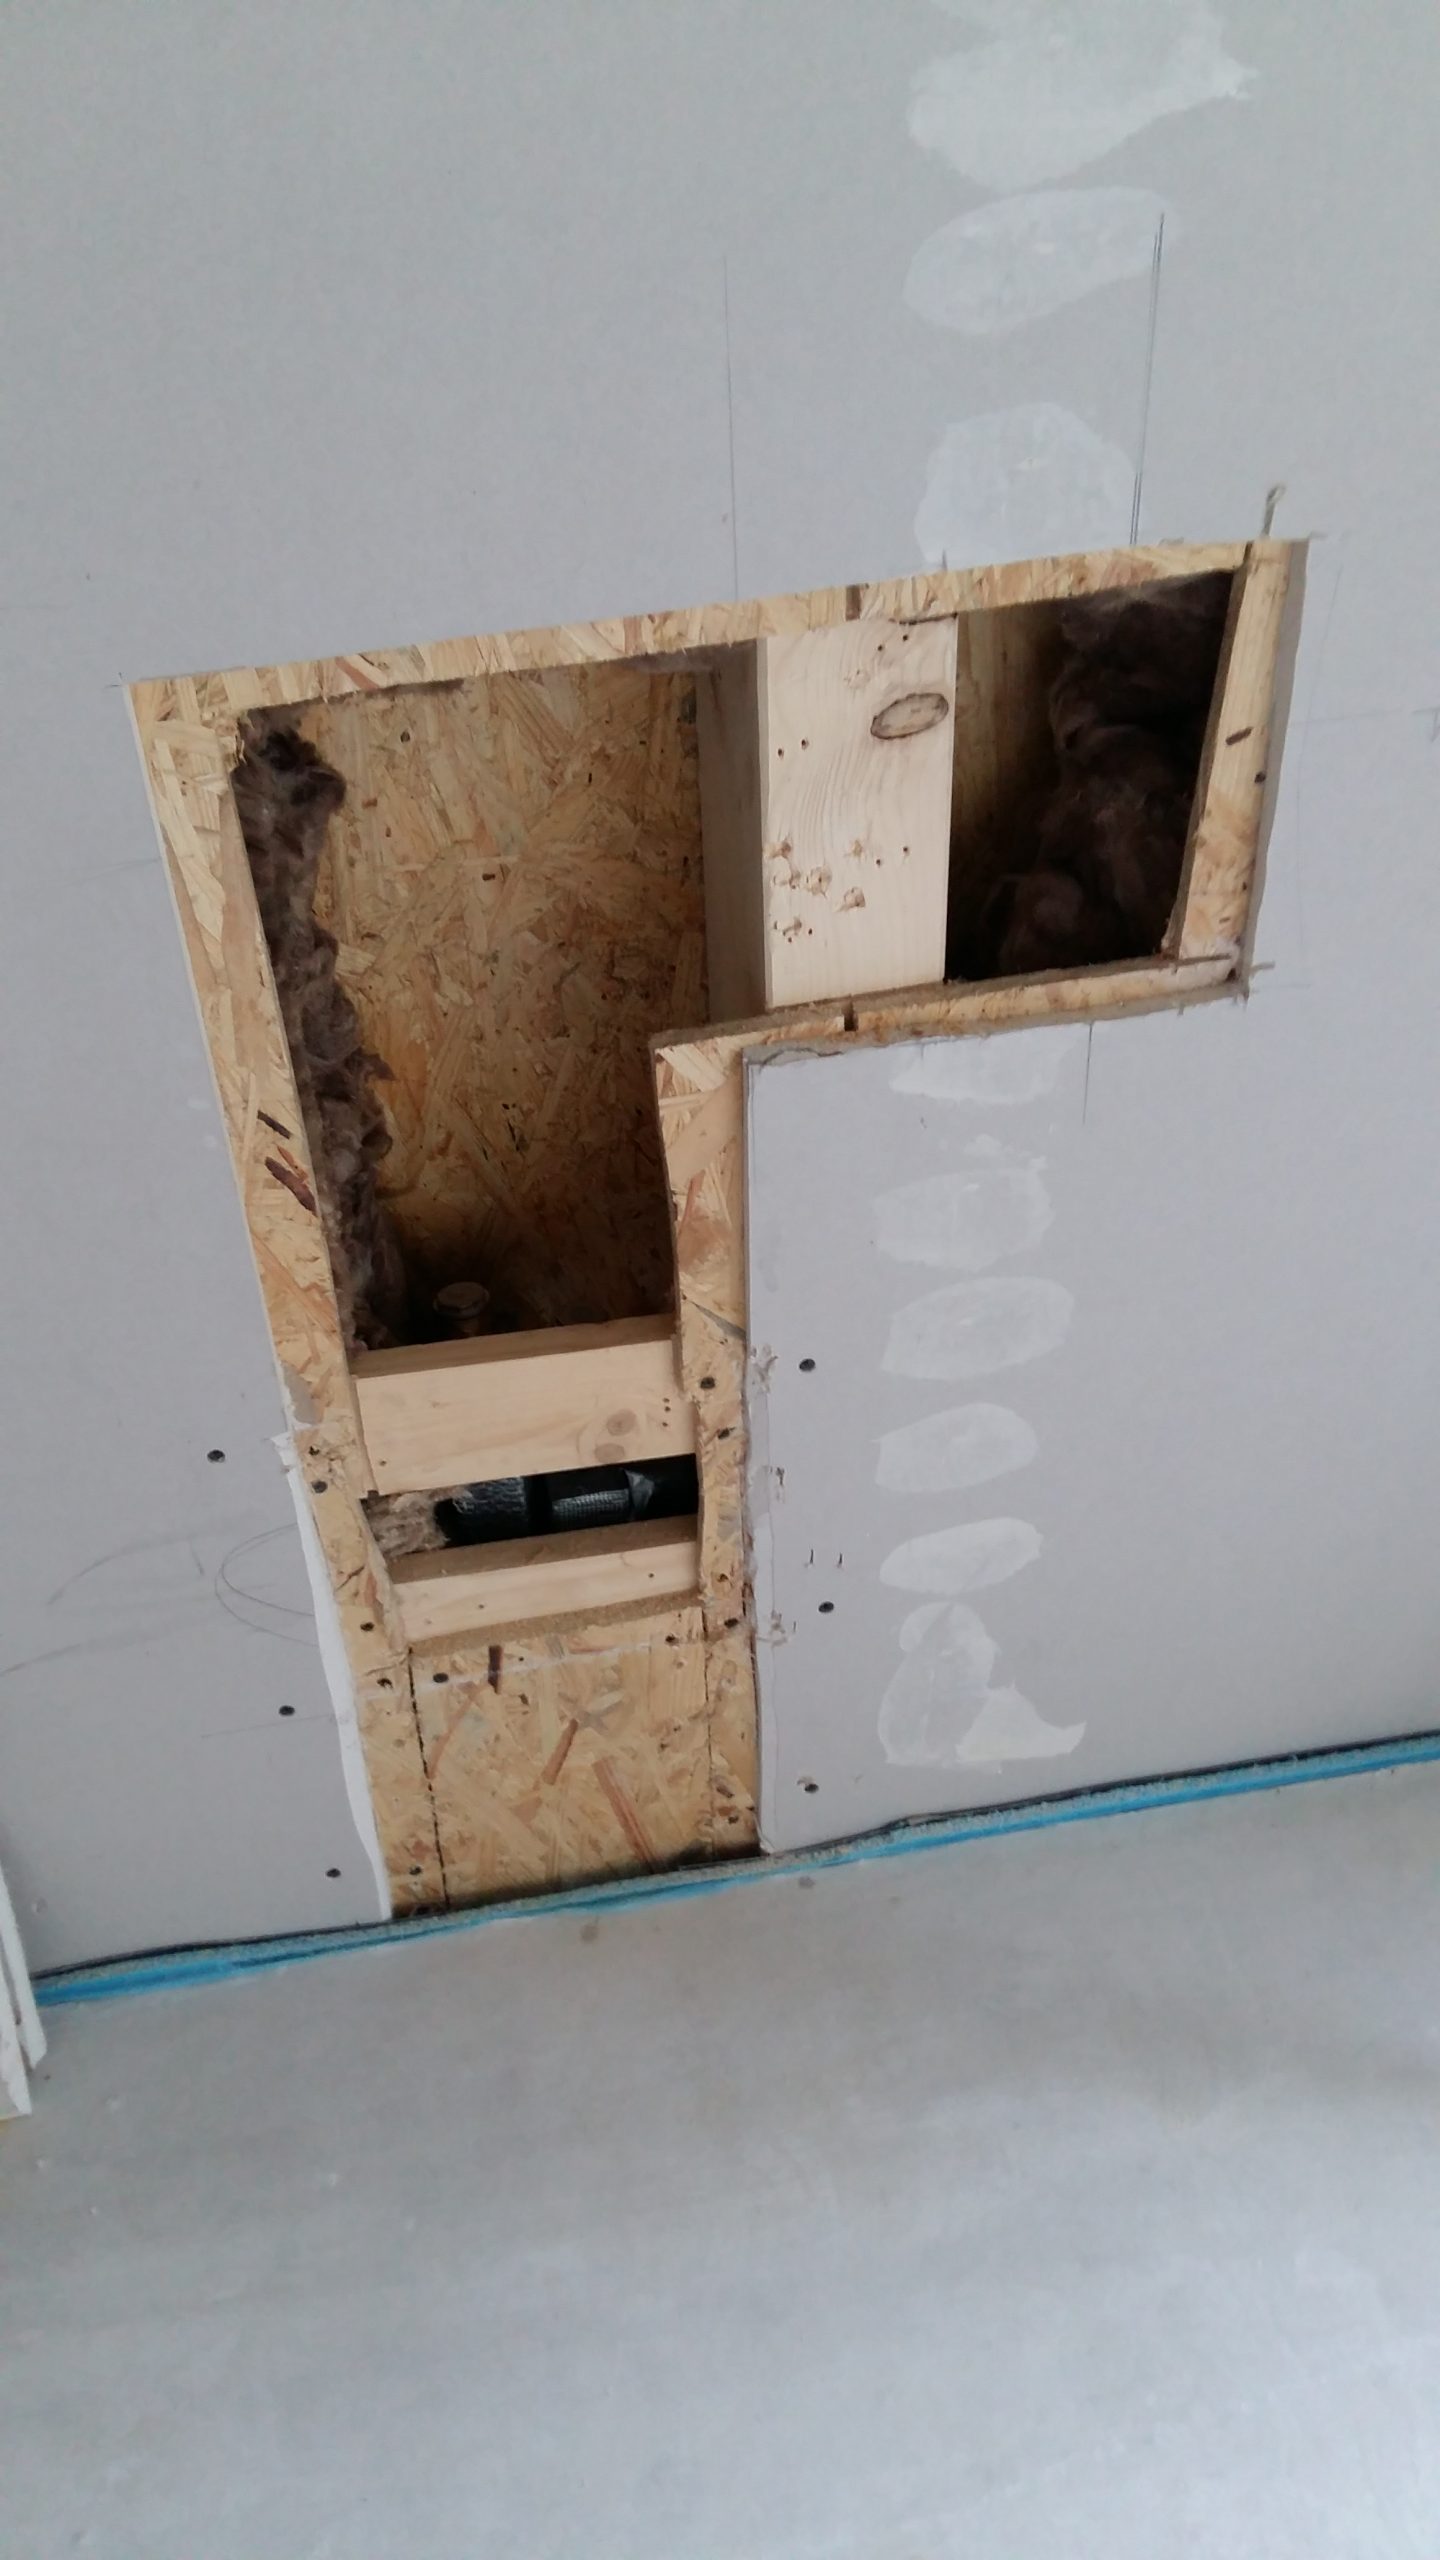
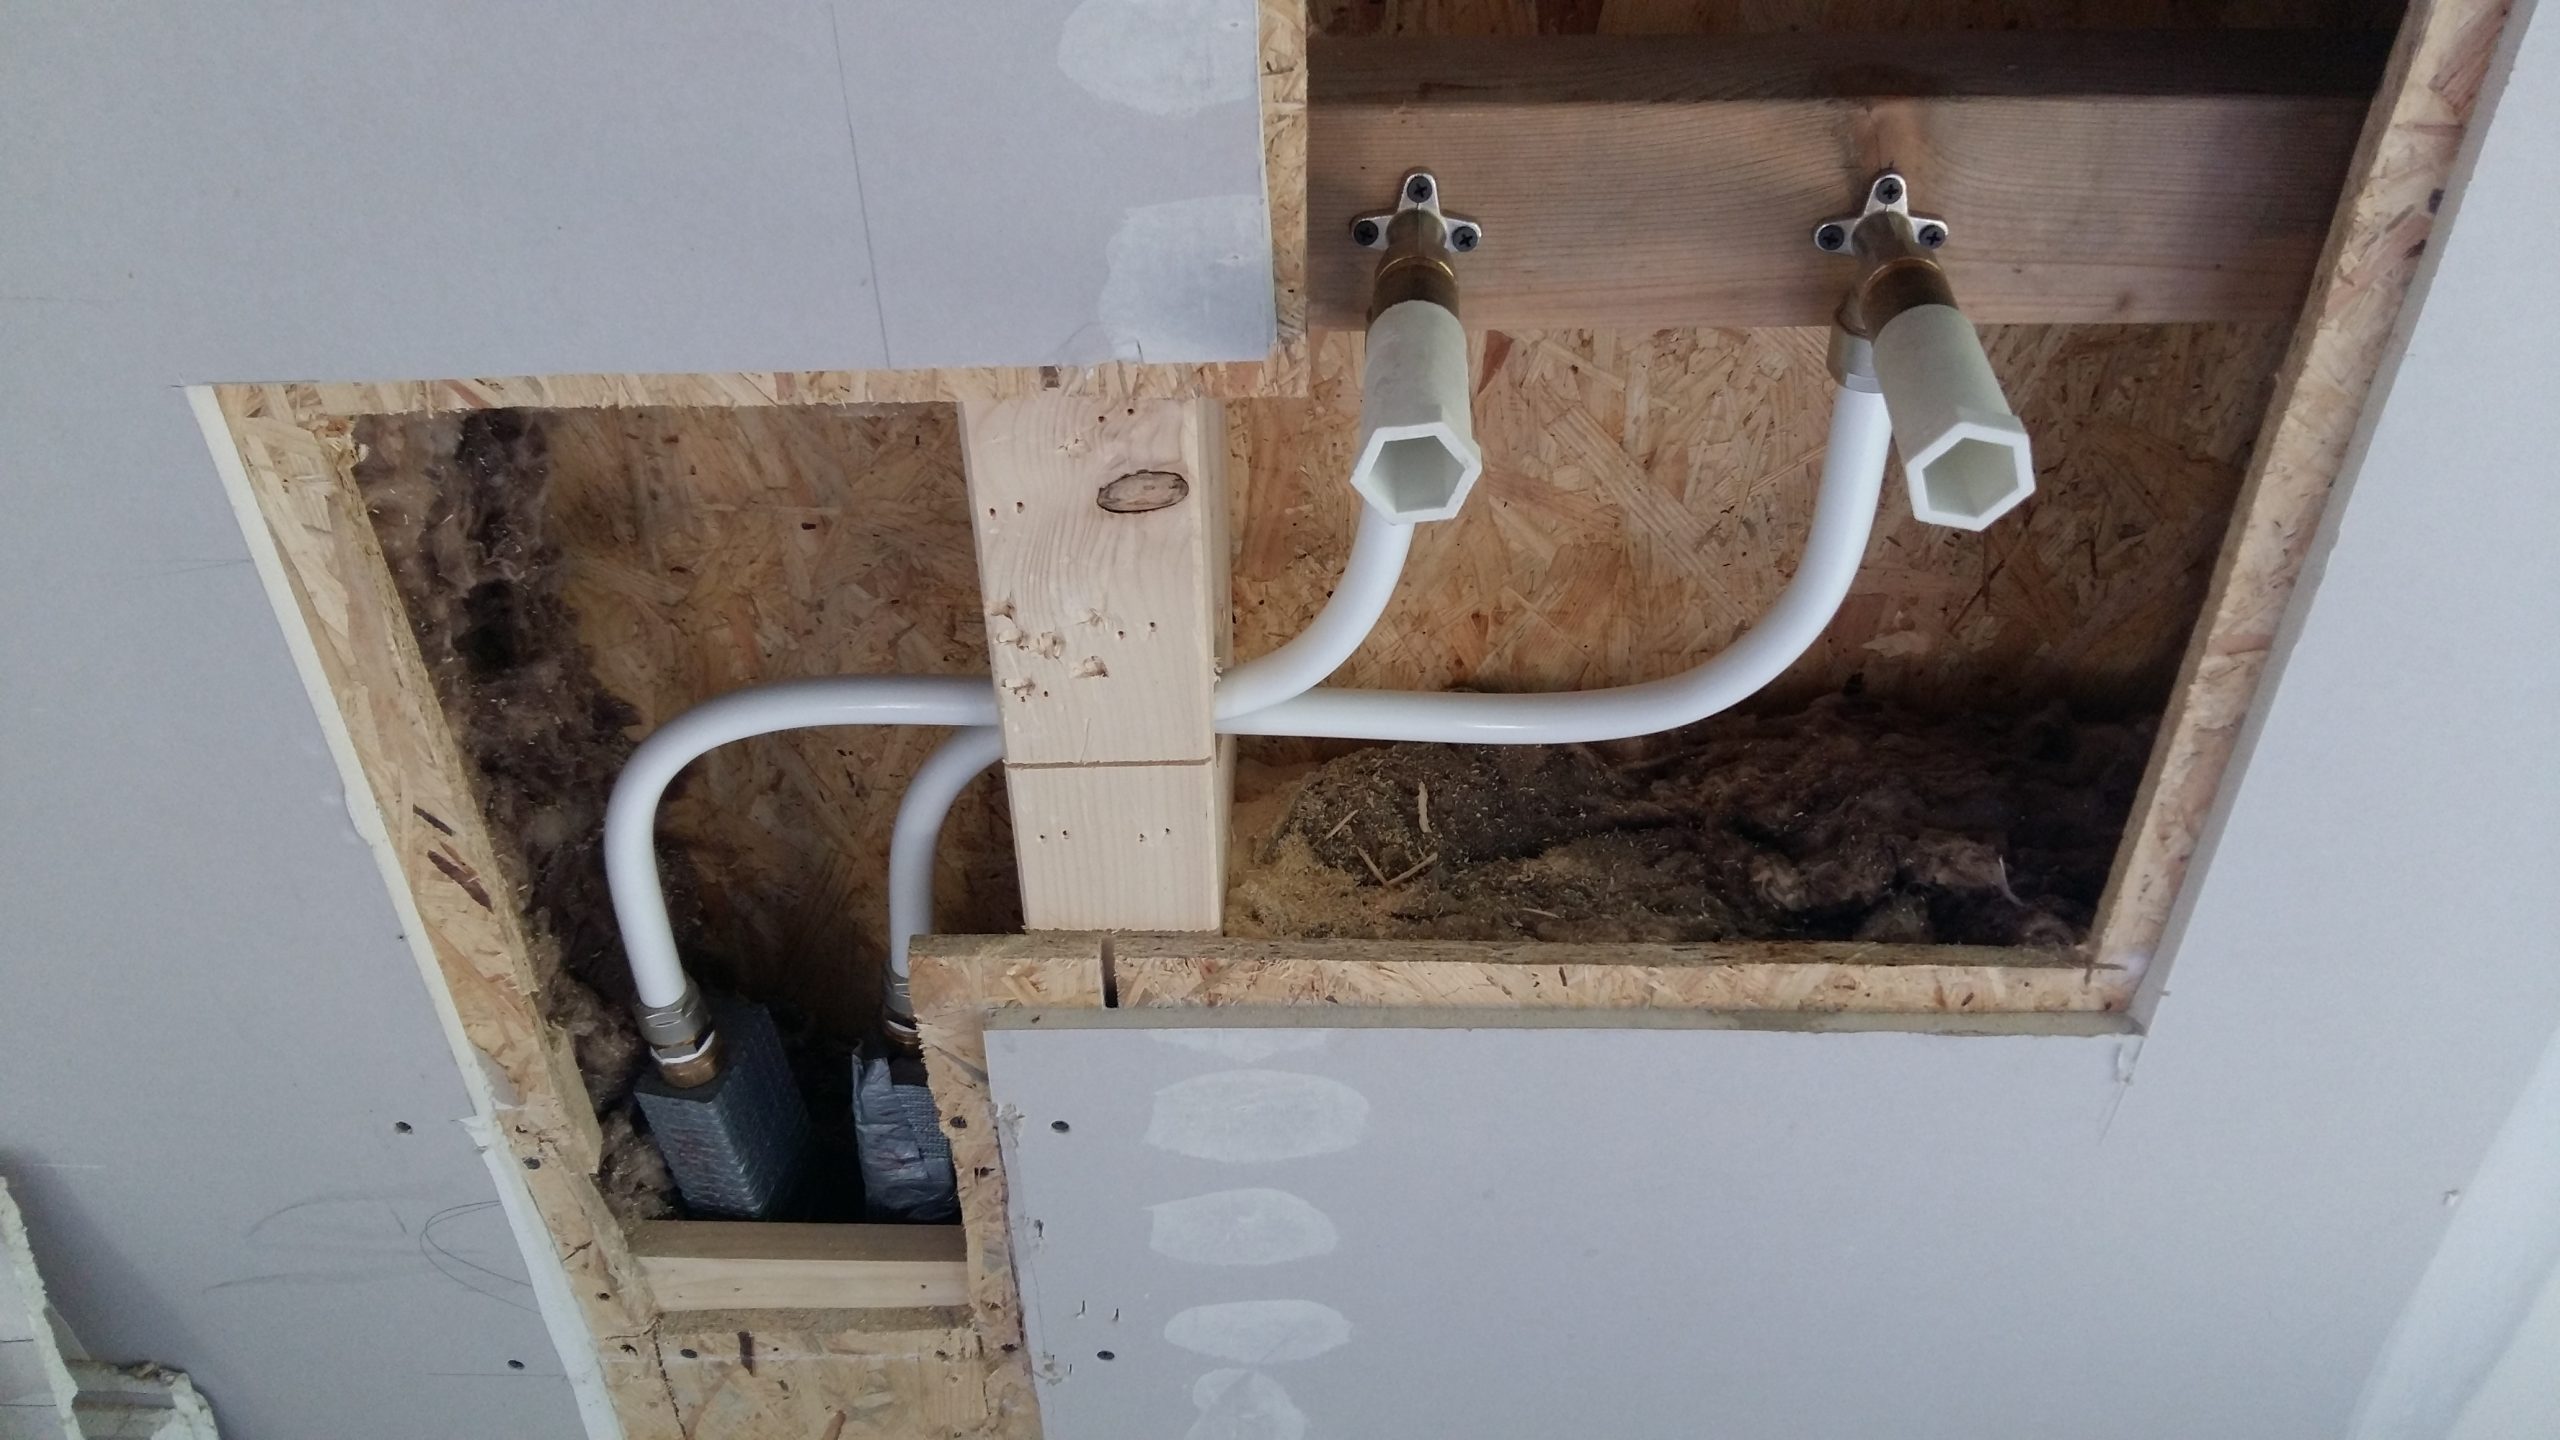
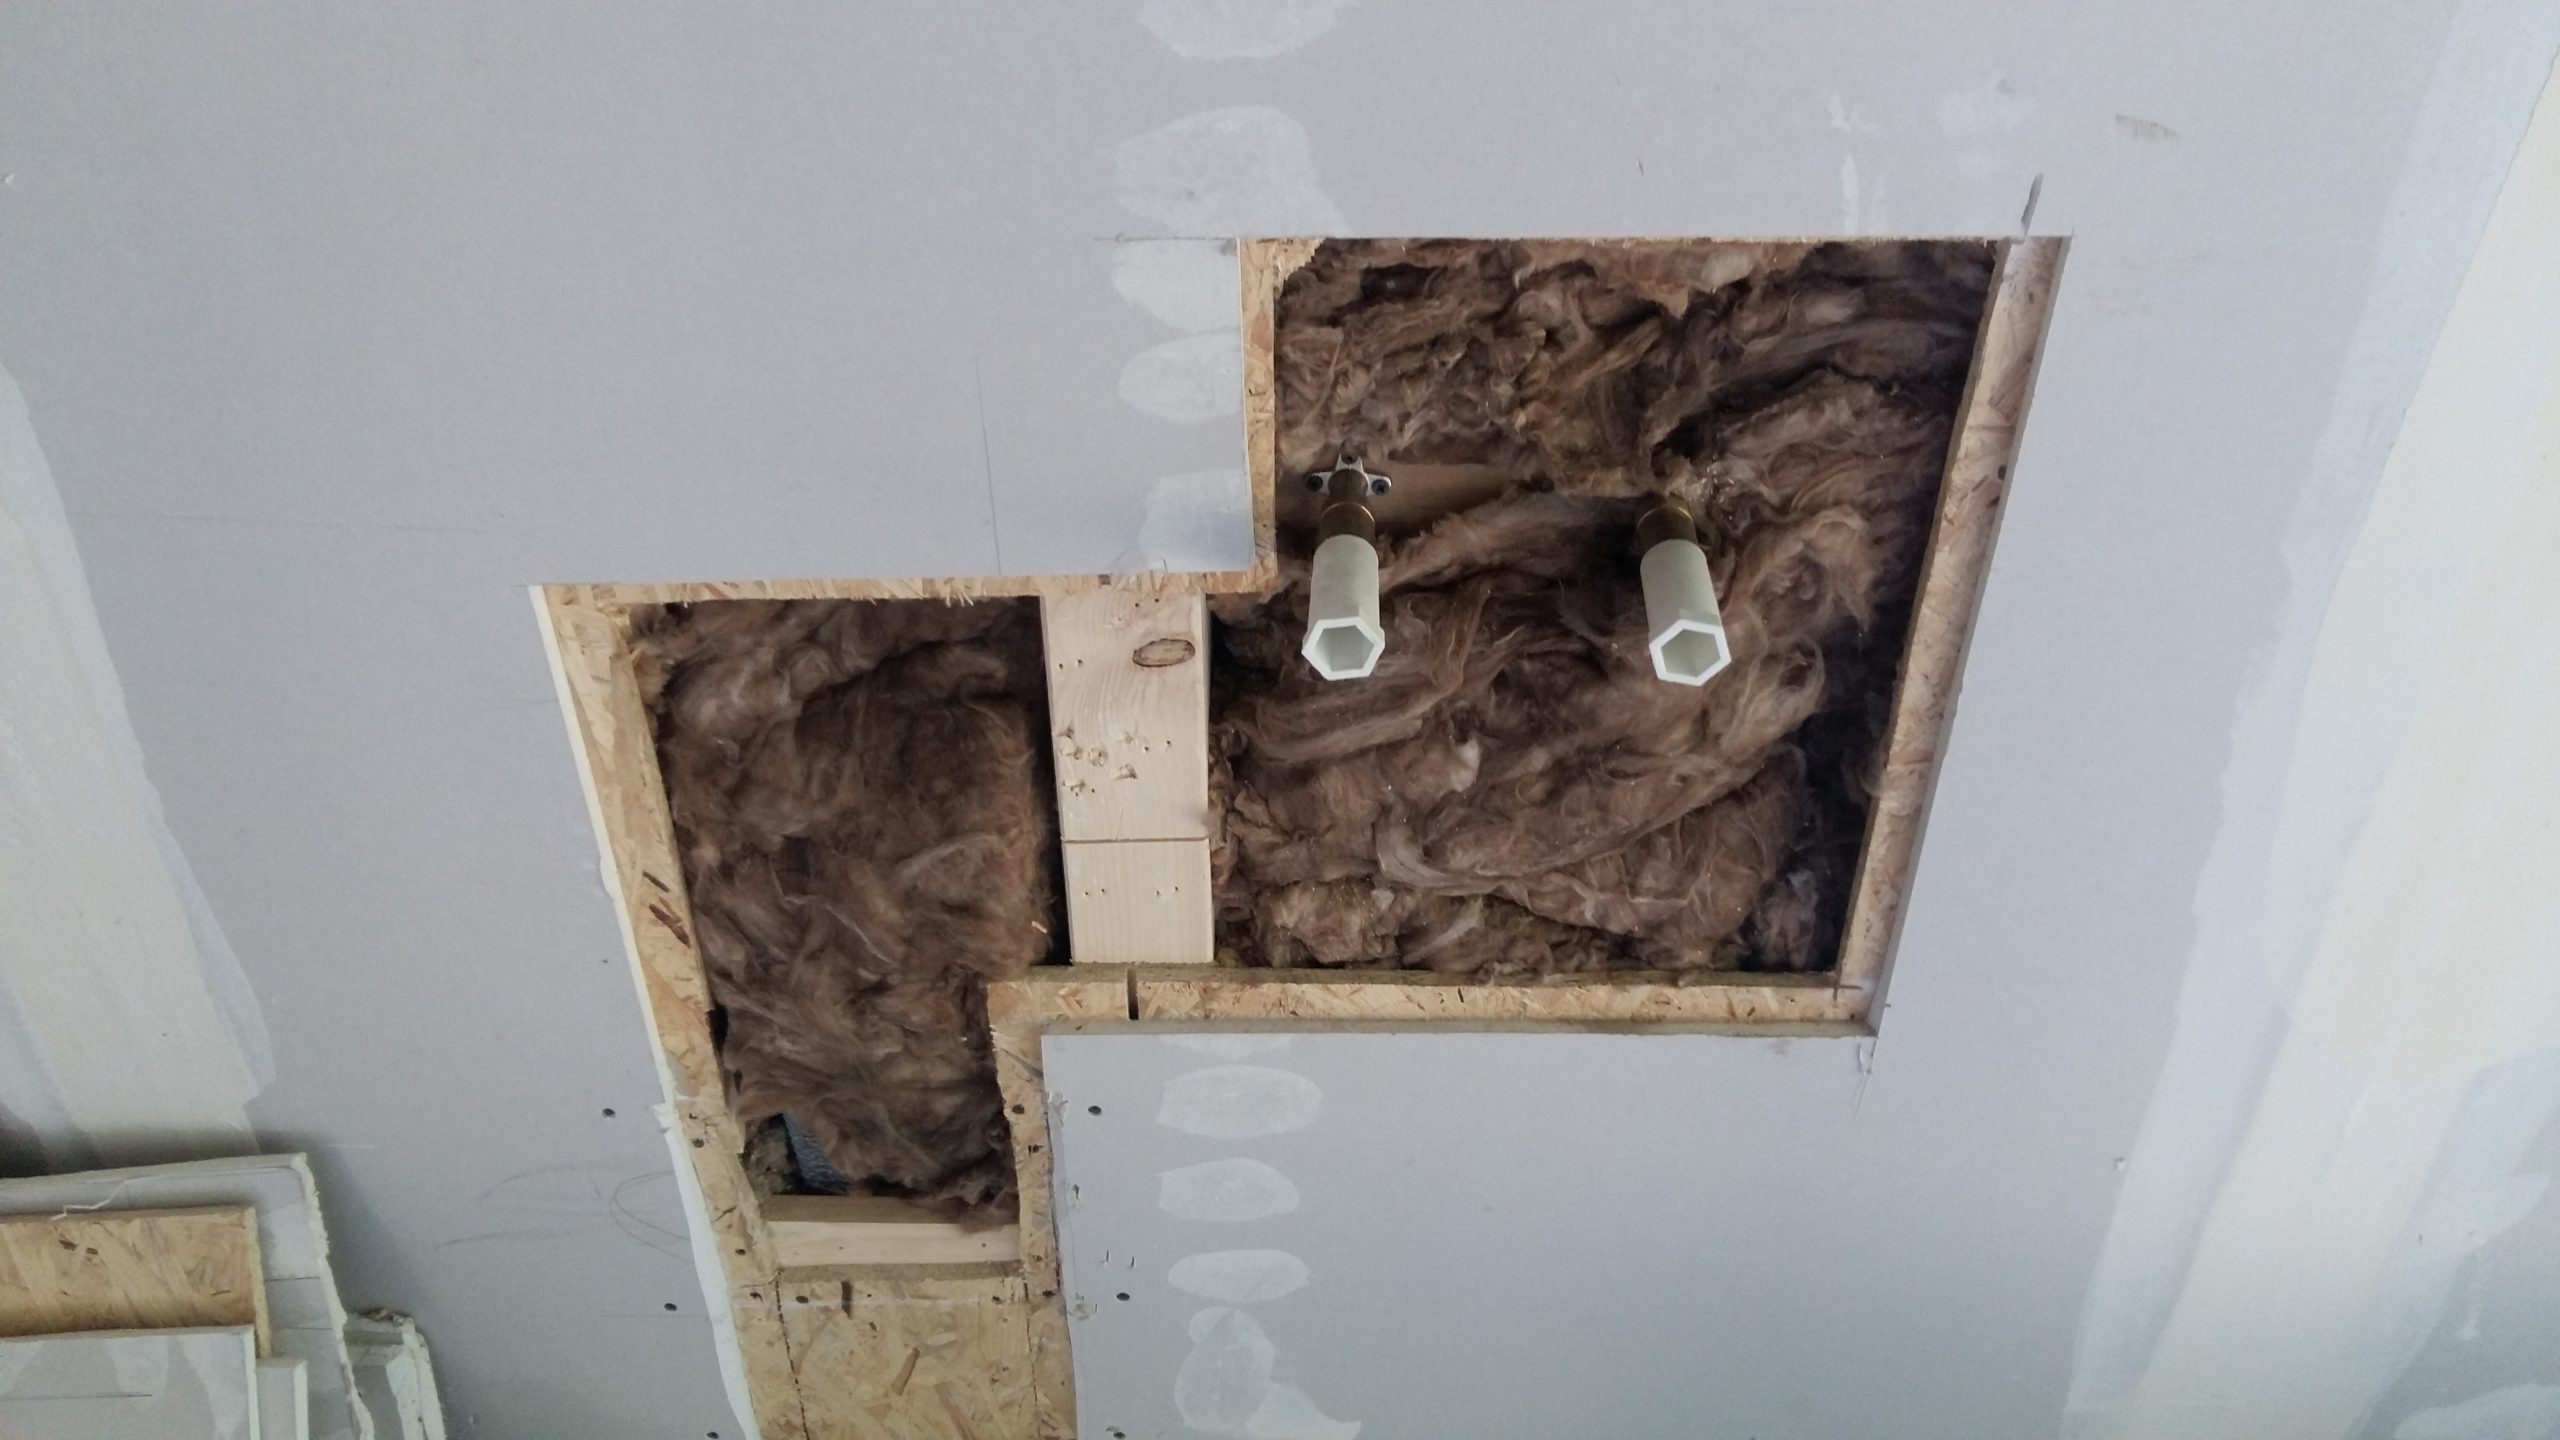
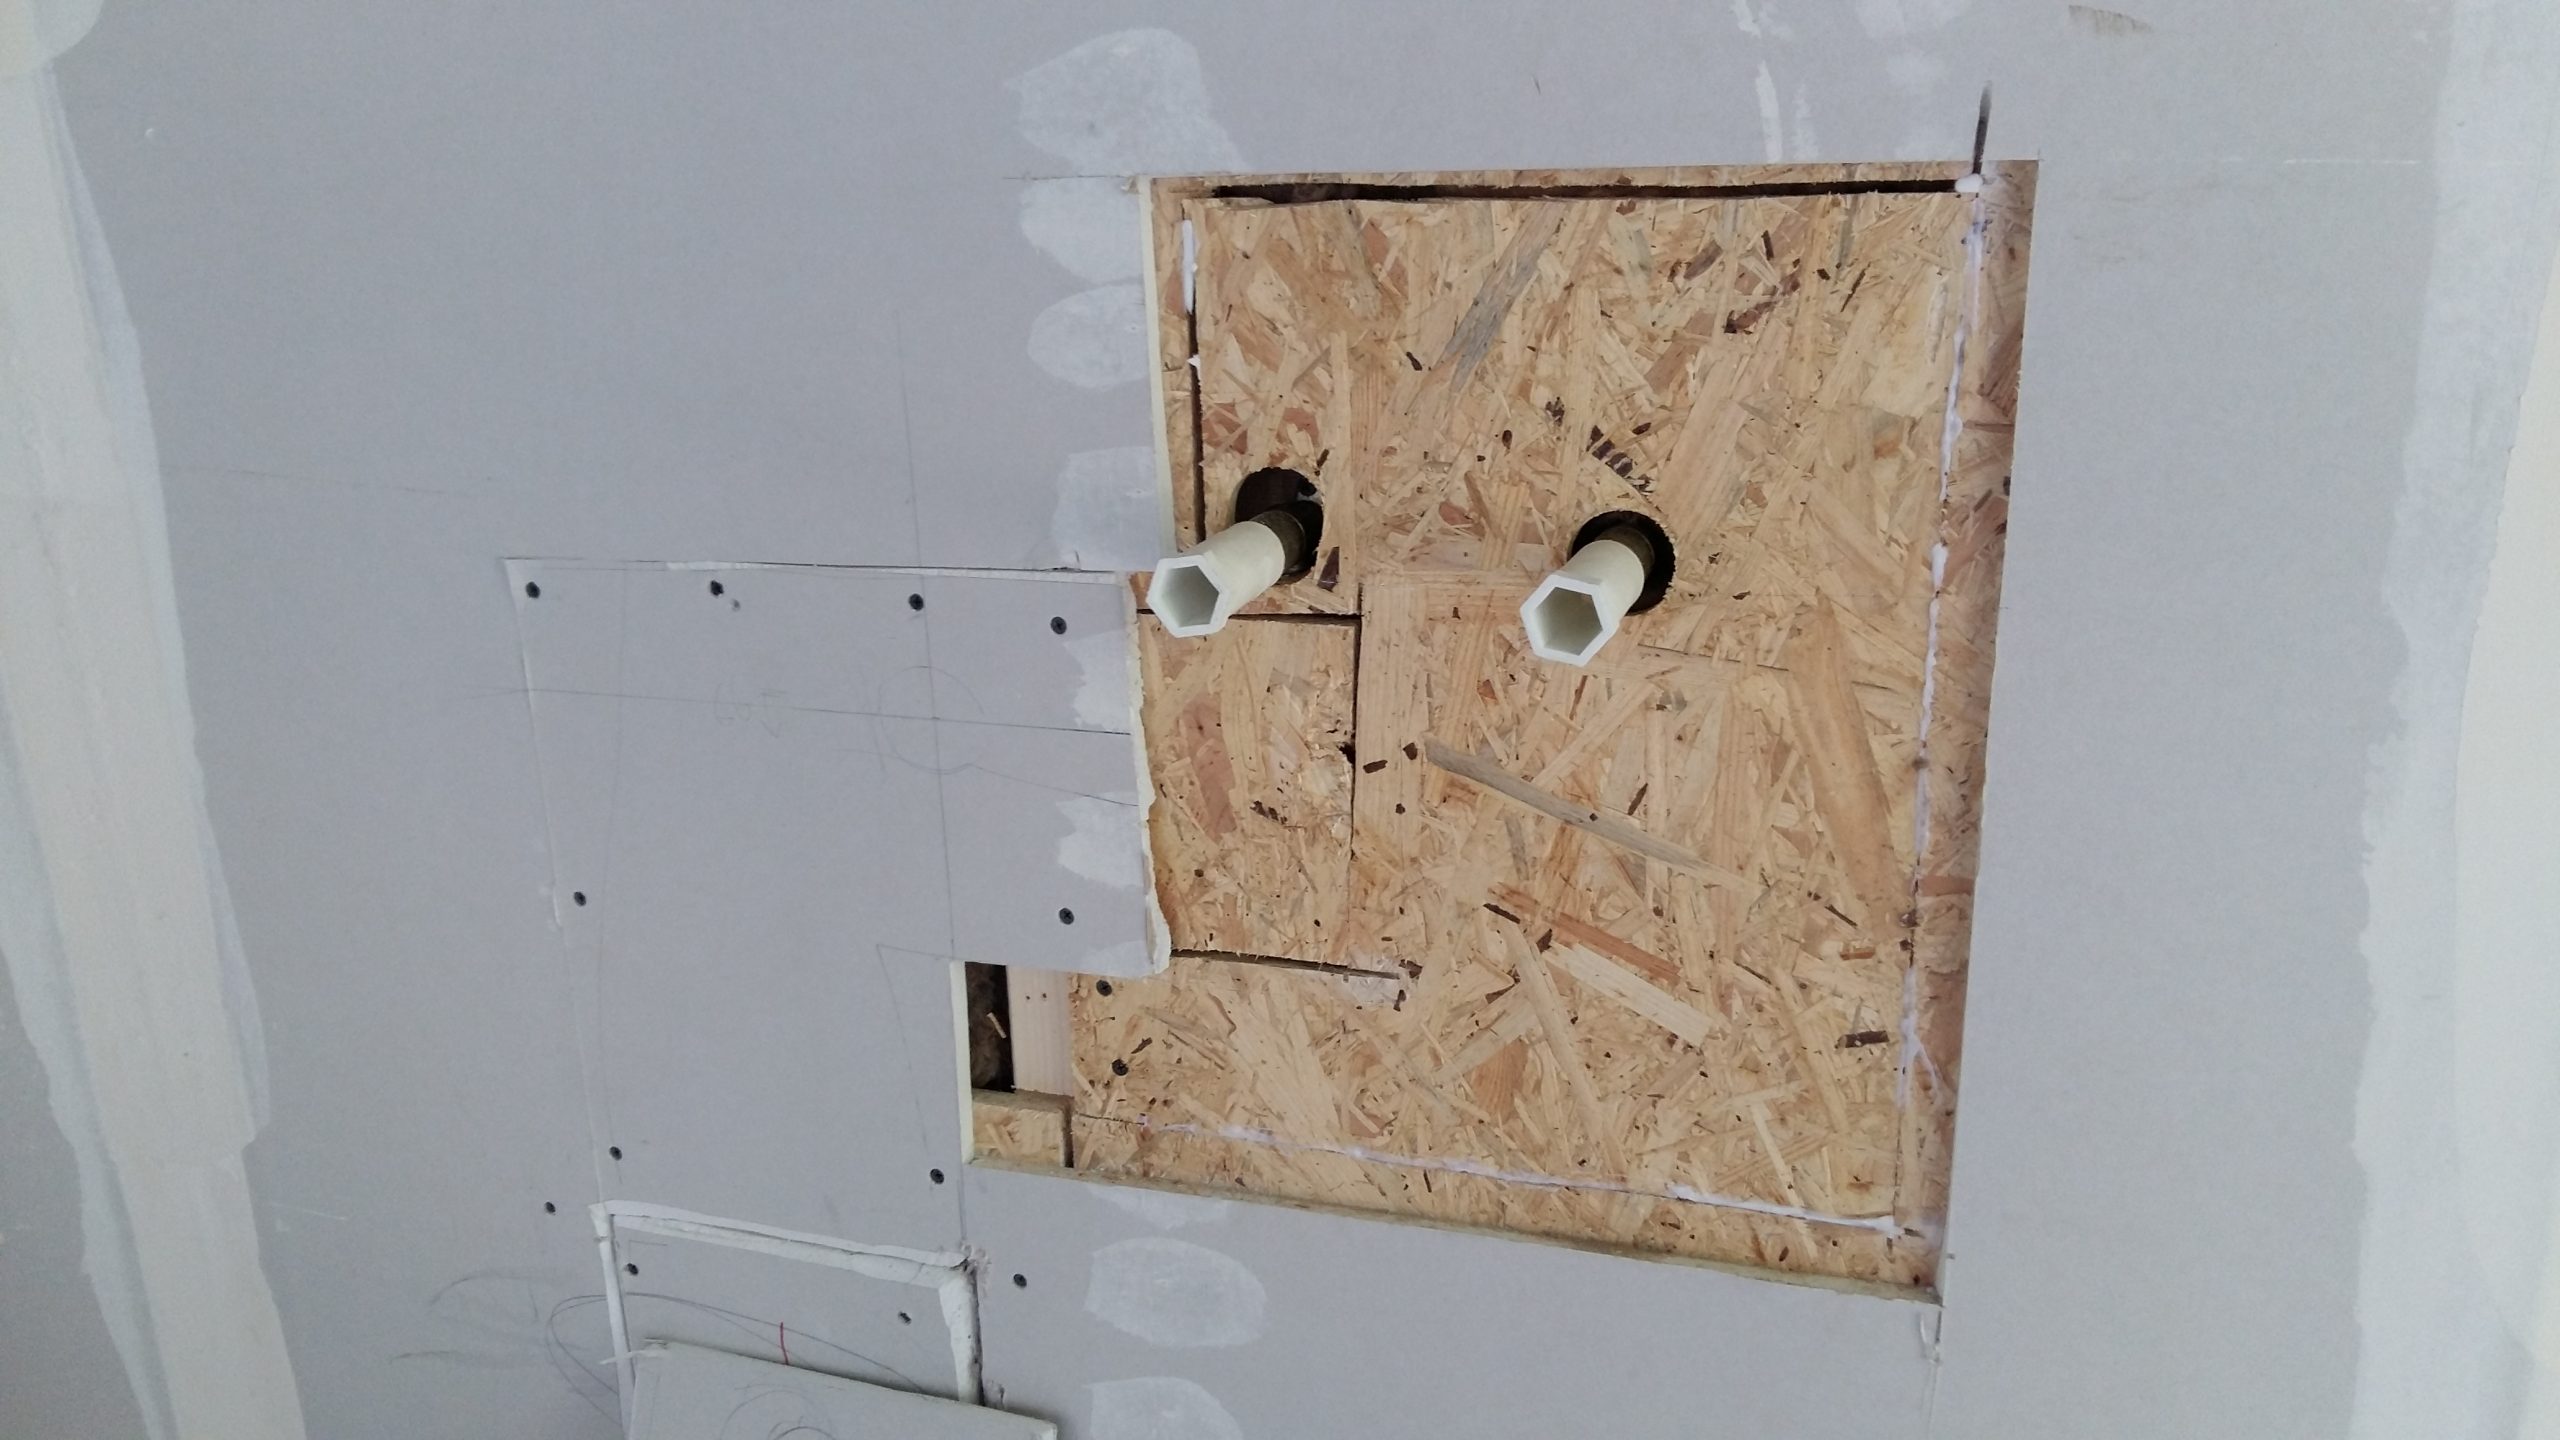
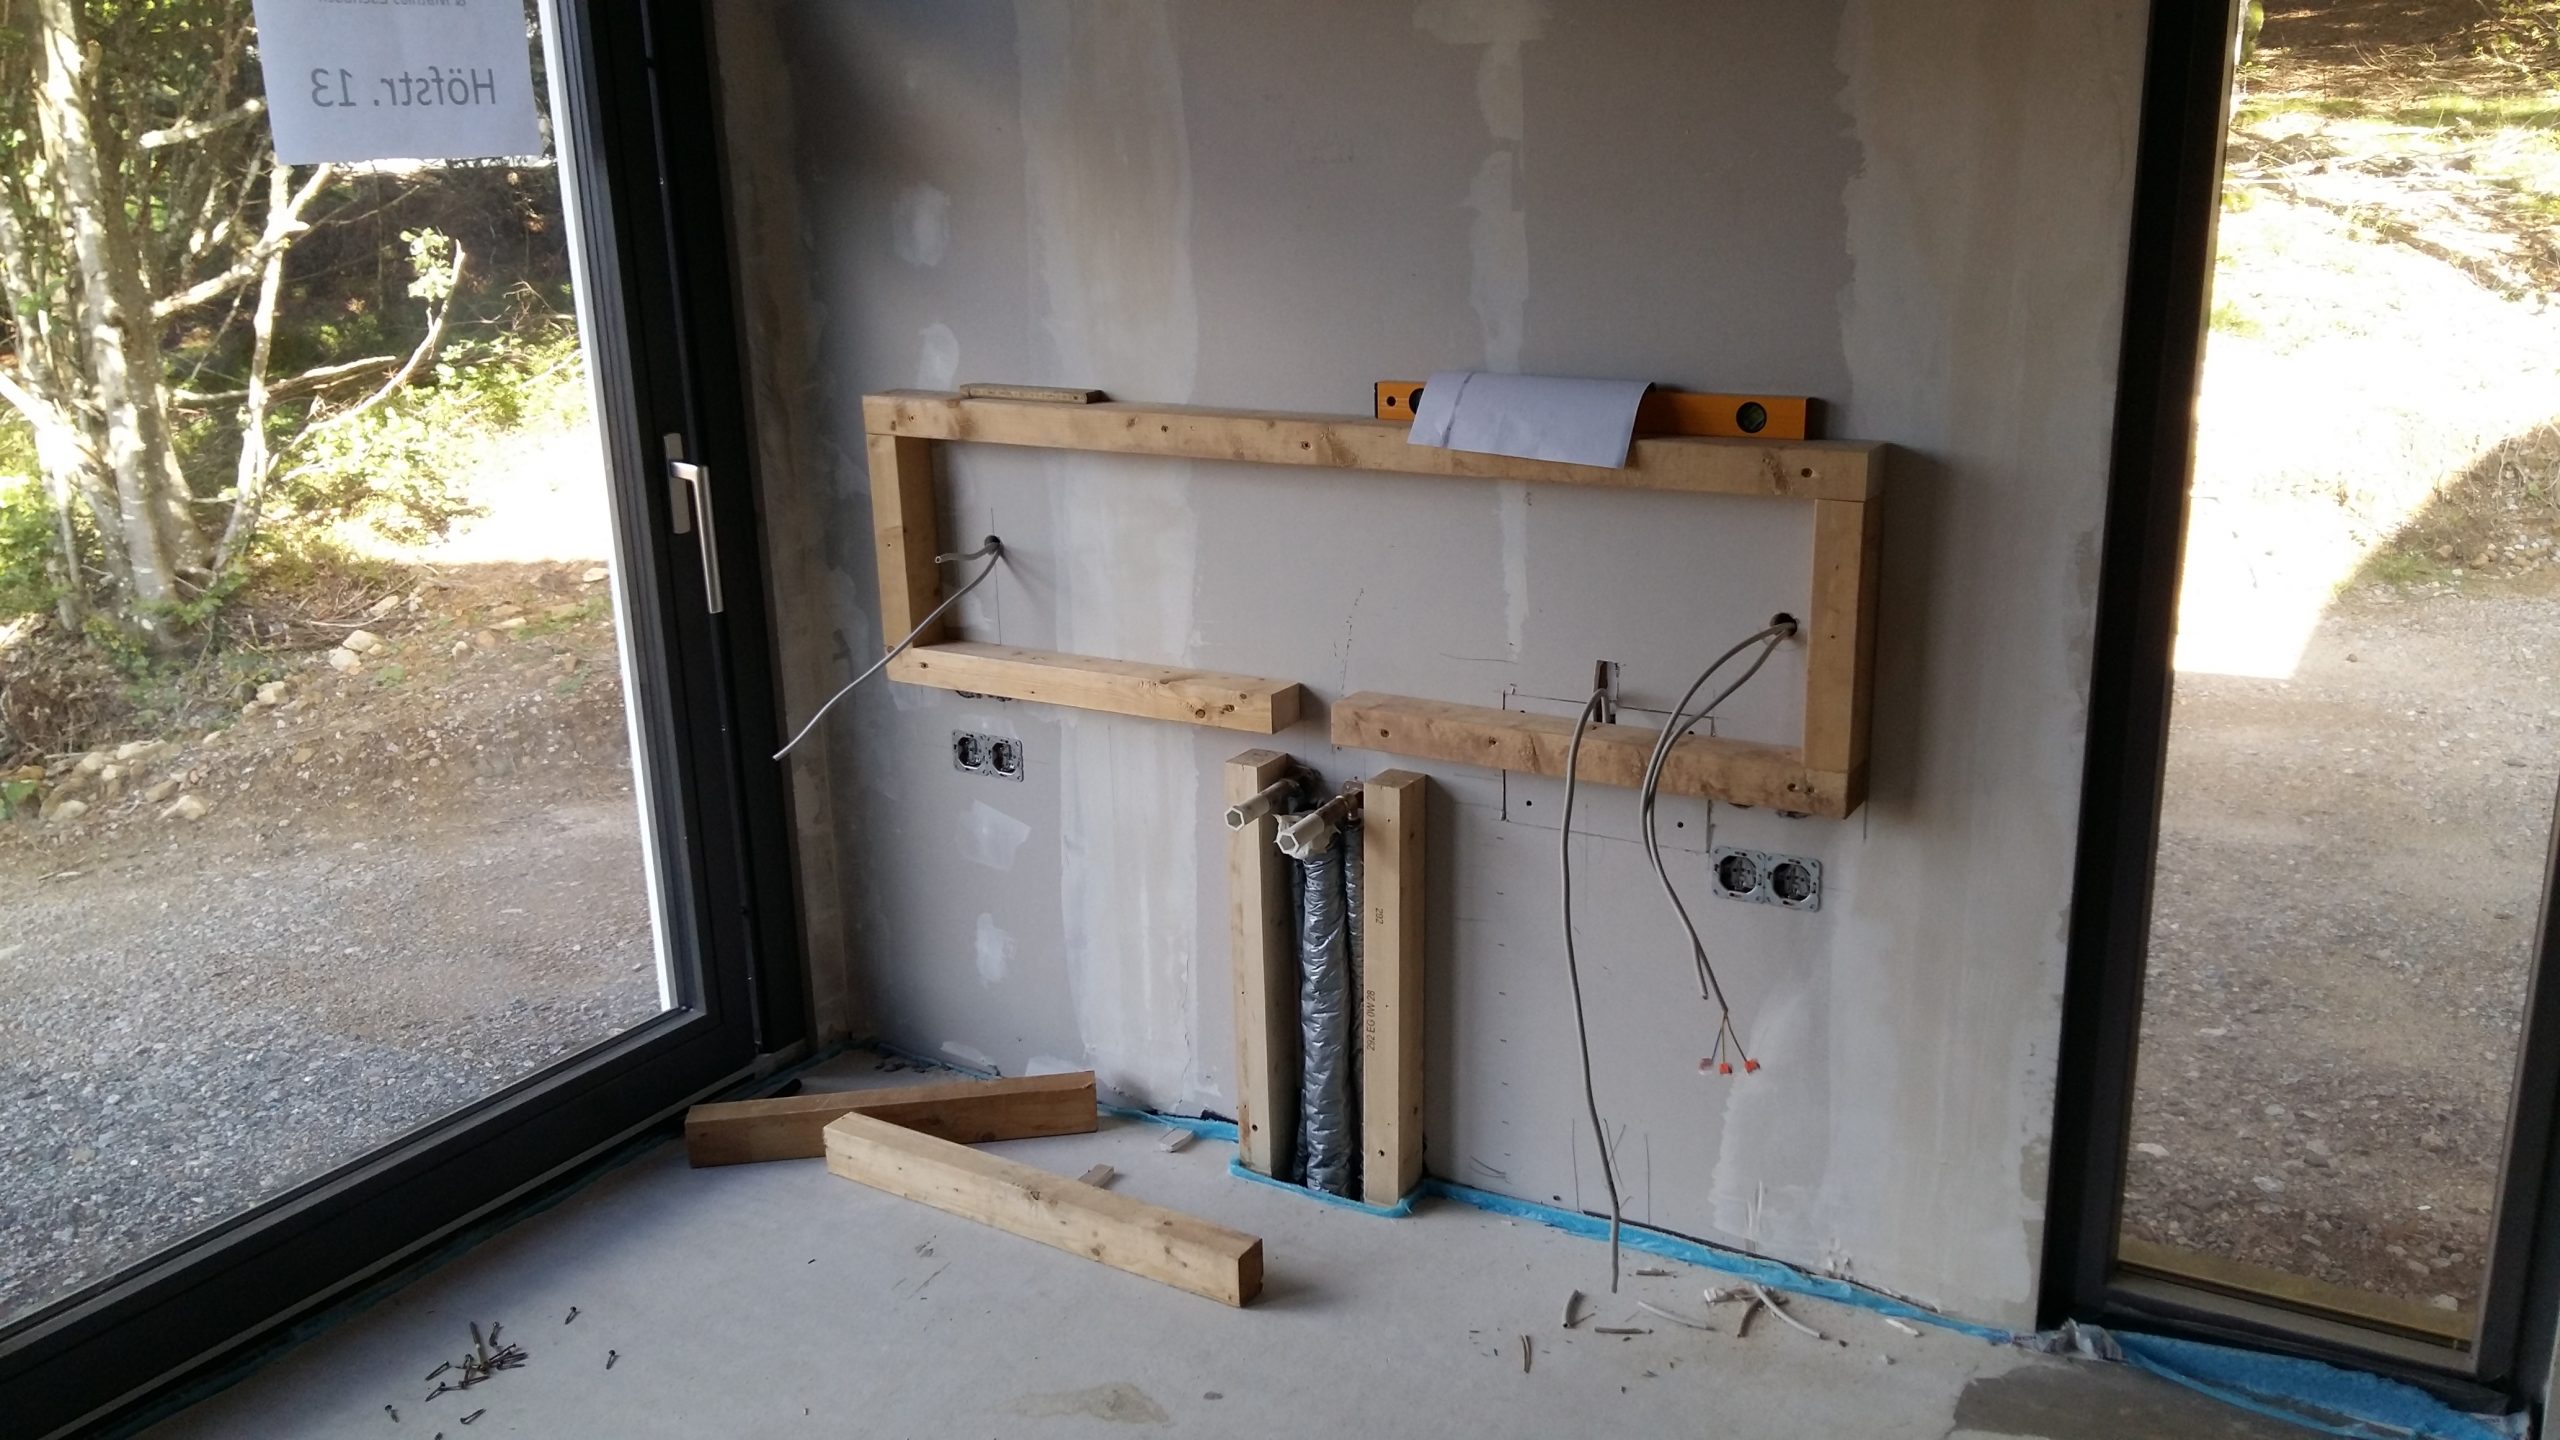
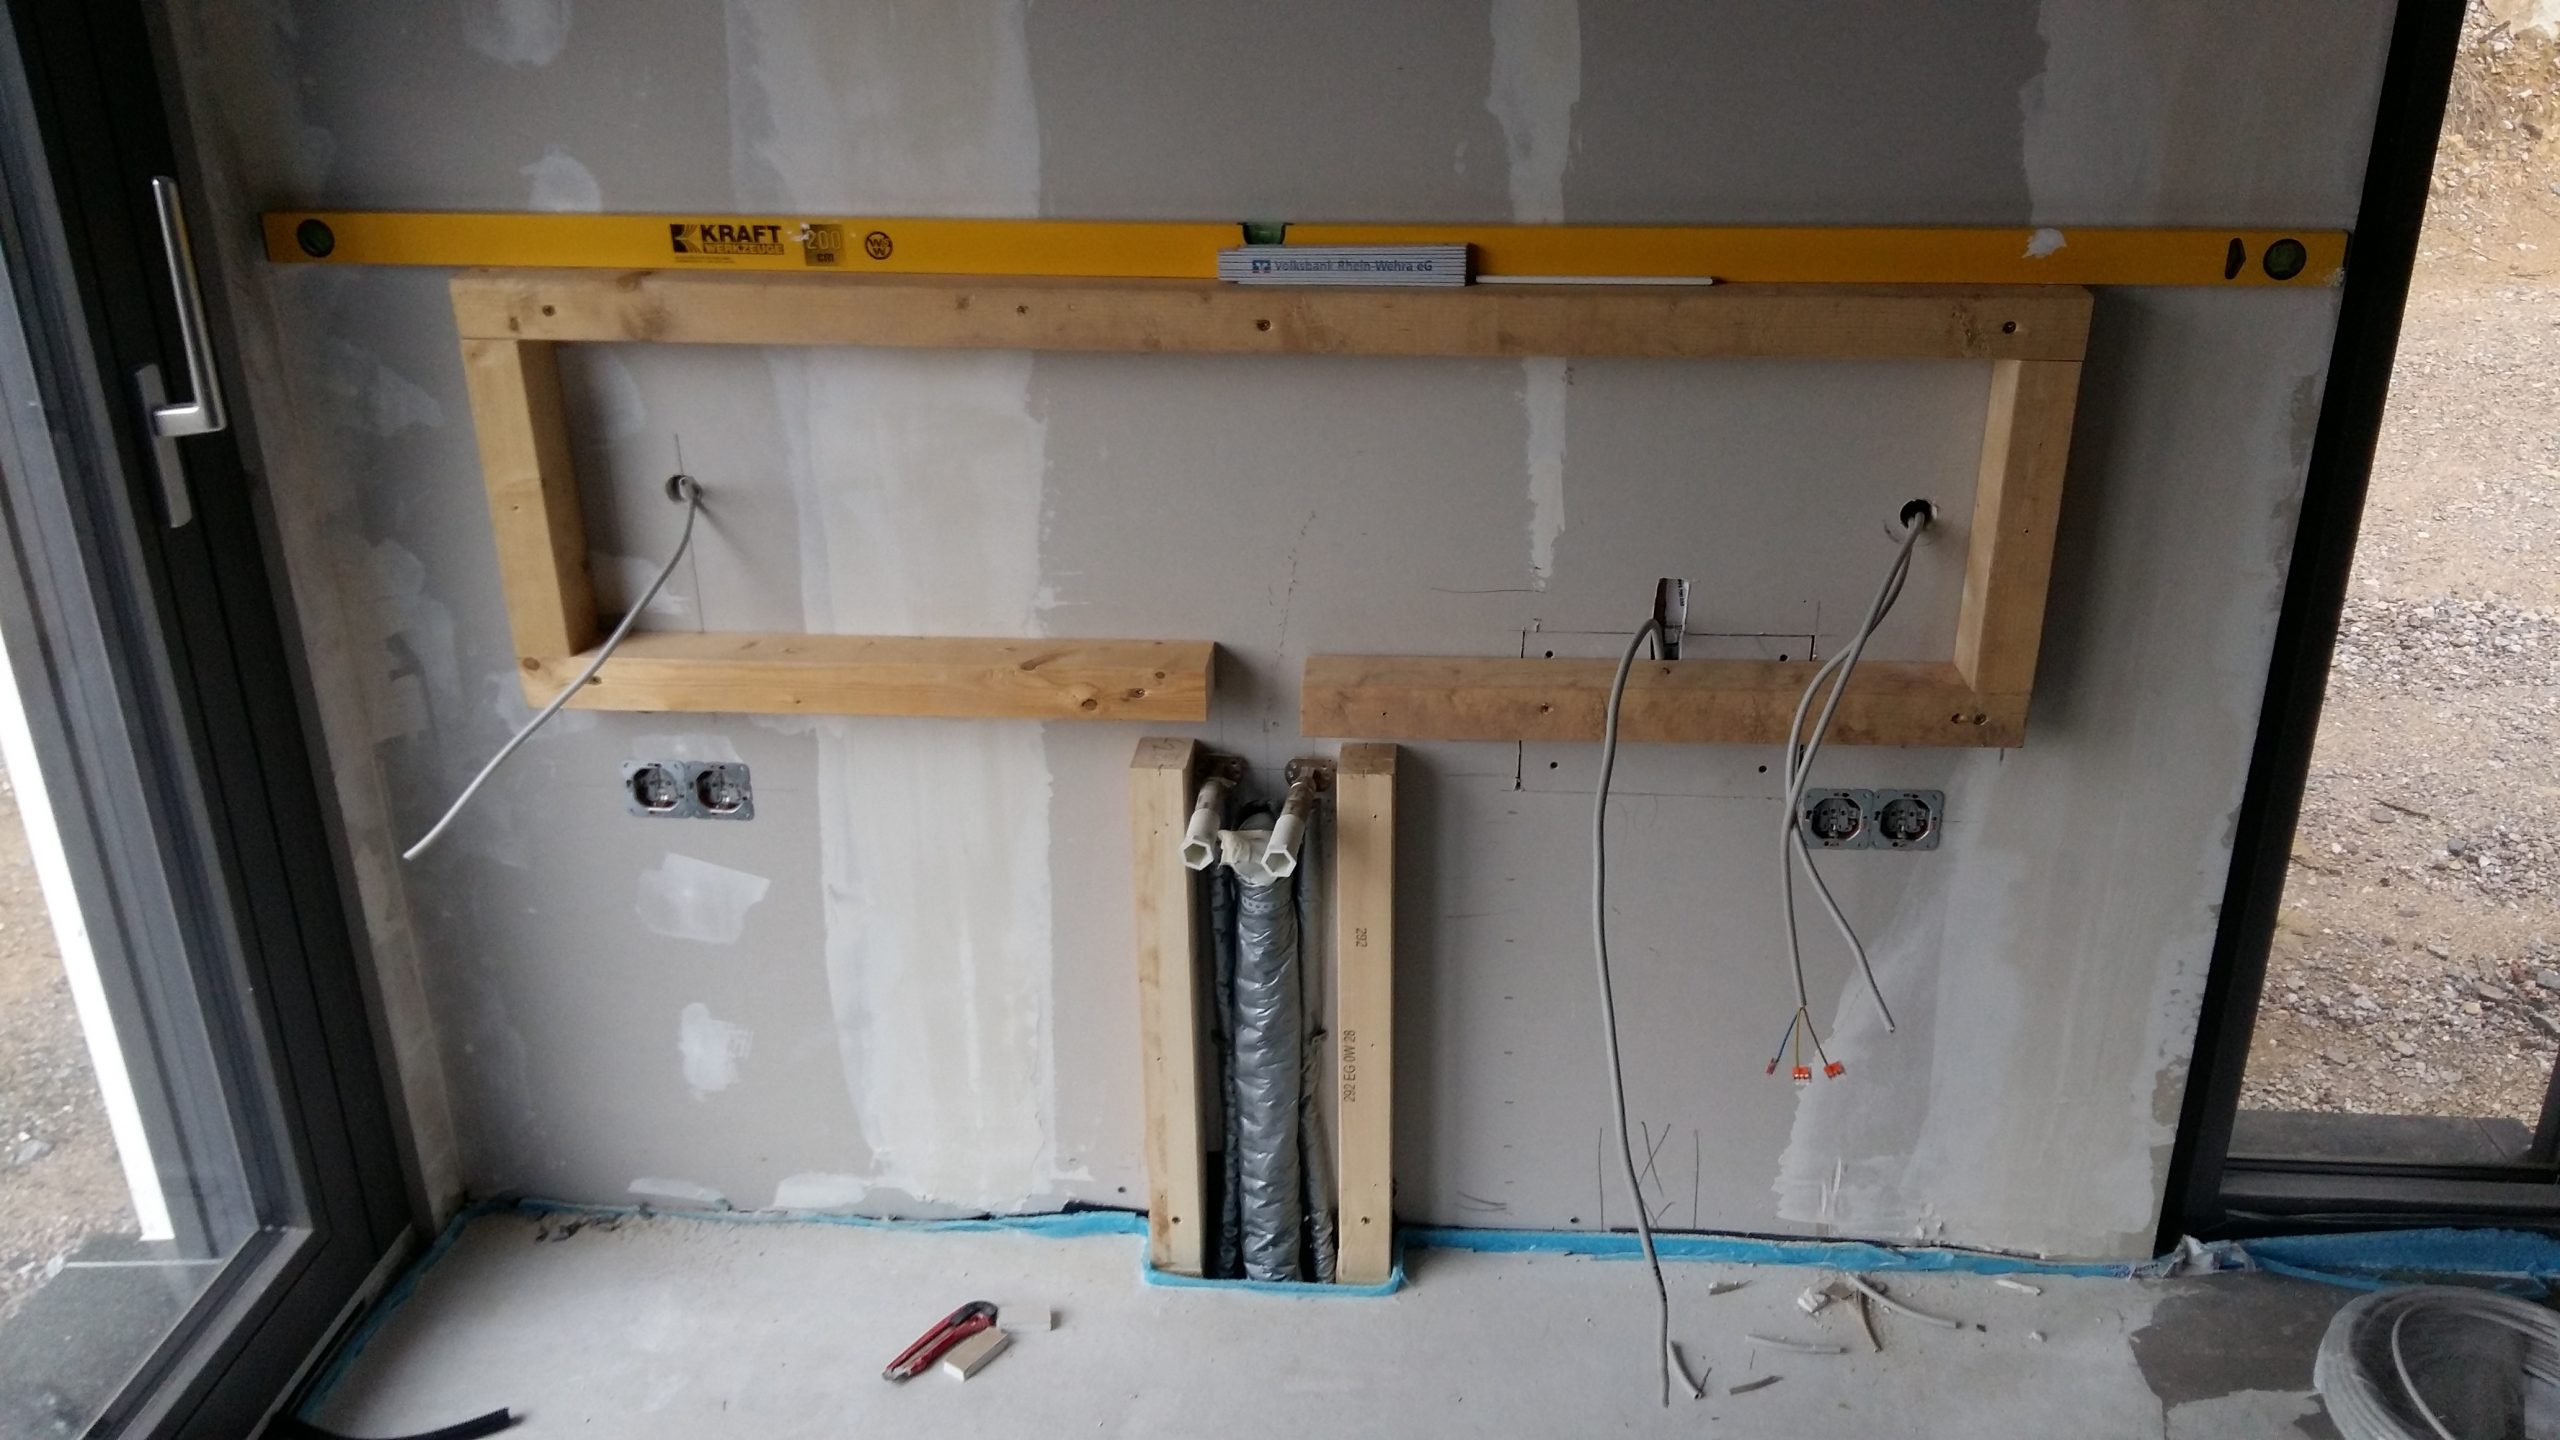
Next, I cleaned everything, including the walls from any dust. Then we installed all wall/floor plumbing, as they all required waterproofing treatment and even some re-routing. For the bathtub, the draining was in the wrong place, as well as the water pipes. So we cut the wall open, extended the plumbing to the right and to the proper height, then insulated all and closed it with OSB plates. The draining was a bit more complicated, as we had to break the slab carefully not to puncture the pipe below, then work in the confined space to install the water siphon. Finally, we also routed the hoses for the water basin, knowing that once closed, we couldn’t reach it anymore to make repairs. Wet tests were done extensively.
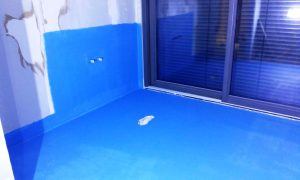
Go blue
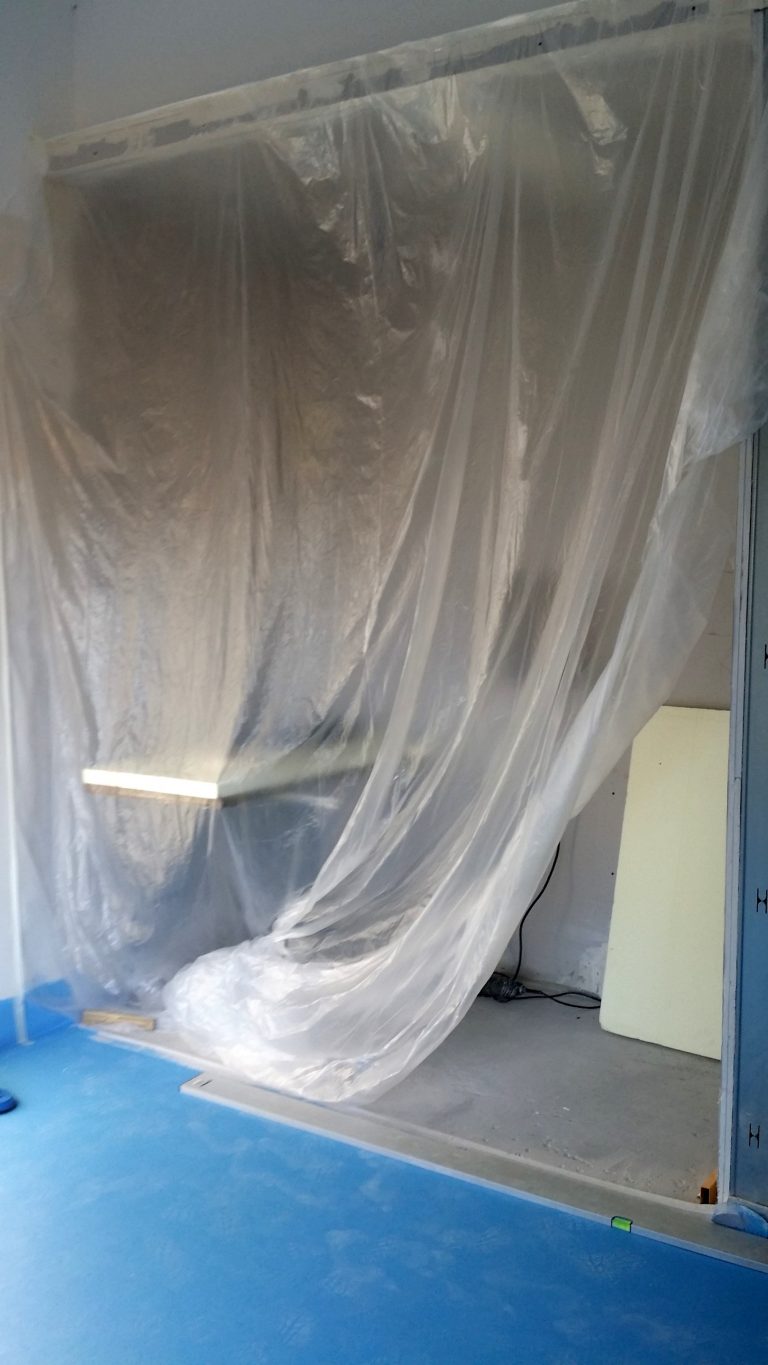
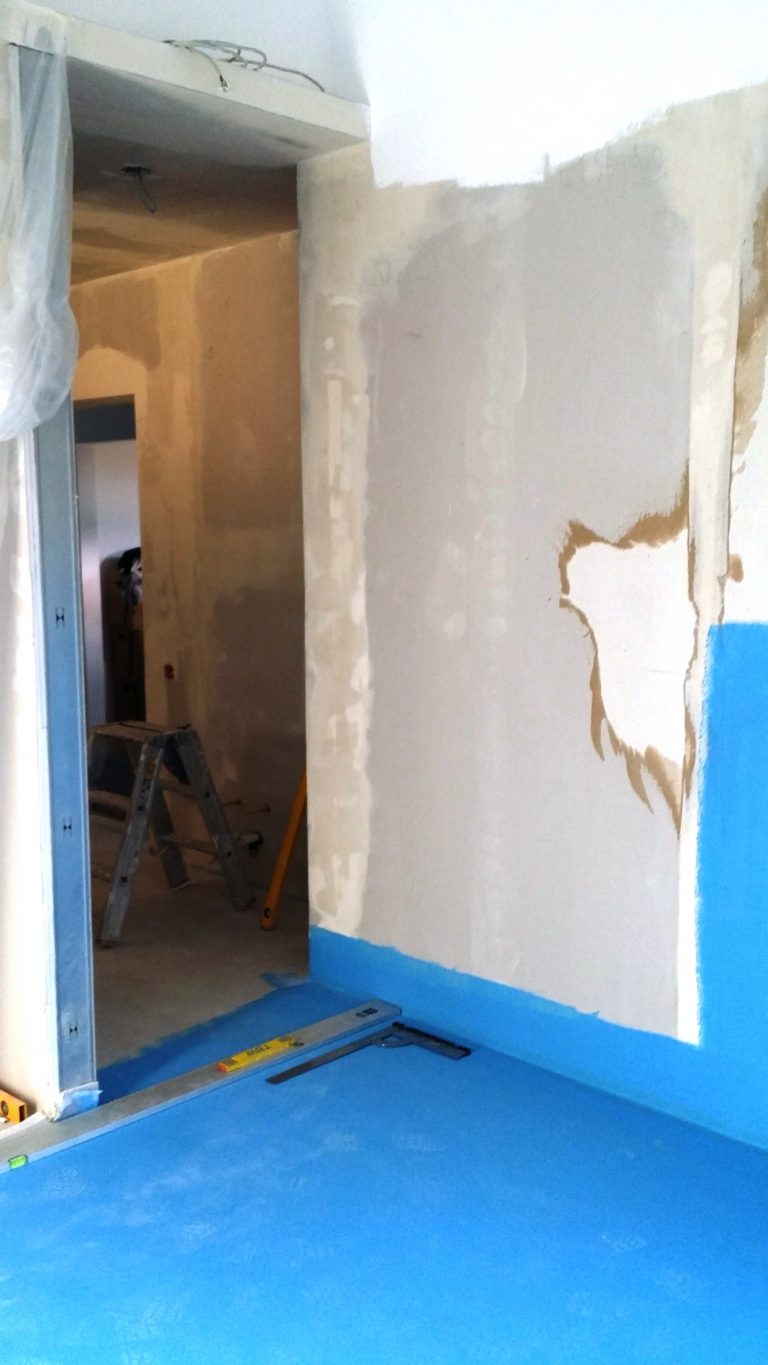
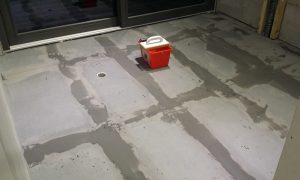
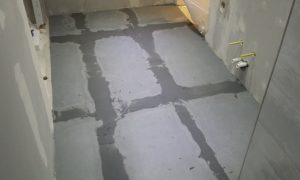
For wet areas in the house, the building standard here in Germany is to spread a liquid waterproof layer (blue on the pictures) on the floor and all walls which may directly receive water (such as showers and bathtub walls). This is done as an extra protection layer under the floor/wall tiles.
Where to begin?
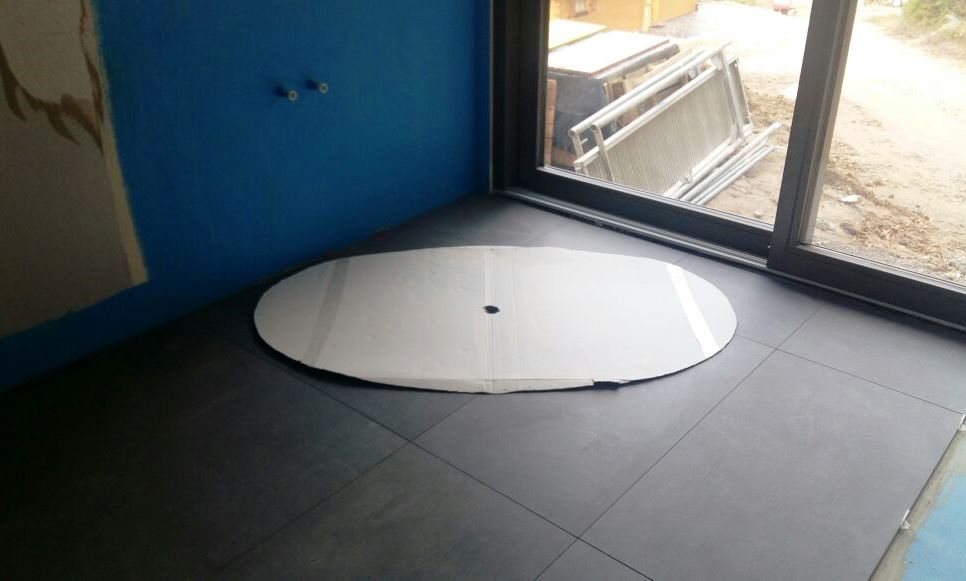
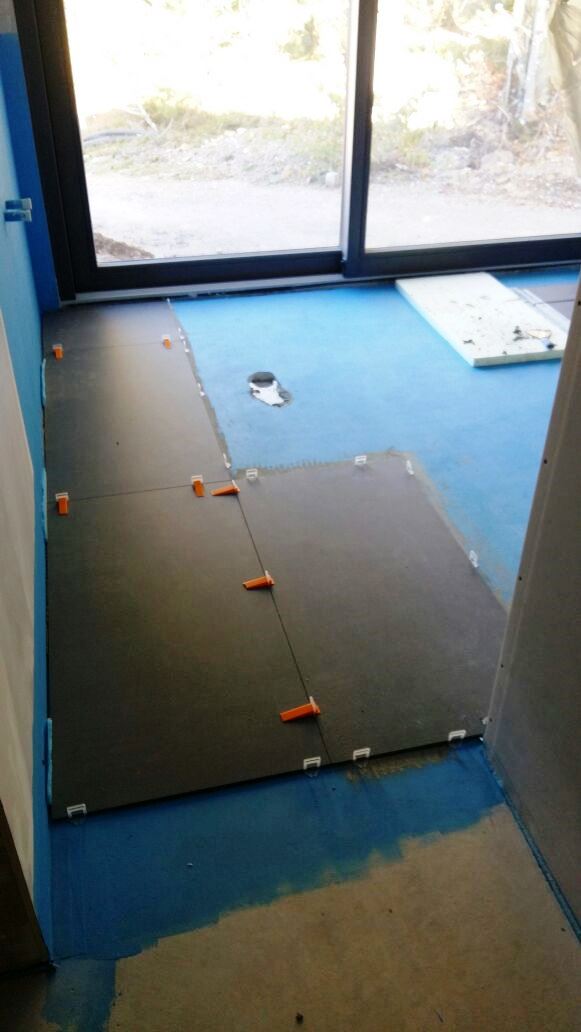
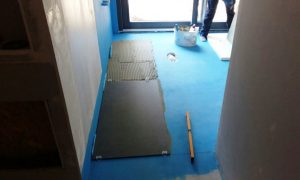
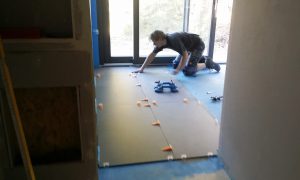
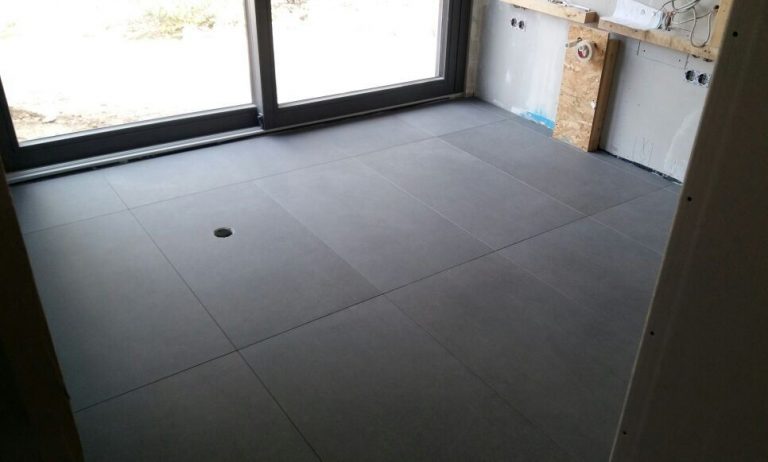
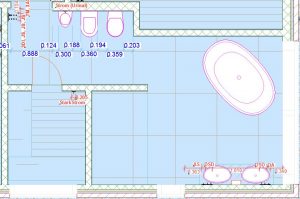
It doesn’t sound like a problem at first – which is why you will only notice it later -, but if you start laying tiles in the wrong place, the end result will be catastrophic! So it’s important to take a long time reviewing the laying pattern, the margin sizes, optimizing the use of leftovers and getting a good idea for the overall look of what you’re about to do. Here specially, we had a challenge because there were two areas of different sizes connecting to each other (the toilet area to the main bathroom room). We decided to start at the main room, right before the shower. It turned out terrific!
The real effort of tiling the floor was difficult for mainly two reasons:
- We didn’t know what was supposed to be the consistency of the tile adhesive. Too dry and it wouldn’t glue. Too wet and the heavy tile would sink over it.
- The size of the tile was 120×60 cm (47×25 in), which makes it heavy and odd to carry it around, placing it exactly where it should go.
We used strong two double suction cups to lift and place tiles and that worked well, despite being exhausting. But the first batch of adhesive was too dry and at least one tile ended up not perfectly glue. Till today, we can tap the foot upon it and hear a hollow sound under it. 🤷
Cleaning the new floor was very satisfying. And something I’d go there just to walk around and admire the work we’ve done, which was pretty good for amateurs.